Maintaining multiple operational PayPal accounts is highly advisable for enhanced flexibility in online transactions. These accounts facilitate the purchase of various services, such as Google Voice subscriptions, Fiverr gigs, etc. Additionally, as these accounts mature, they become increasingly useful for transferring funds from associated bank drops and withdrawing balances efficiently.
To ensure a seamless account setup and avoid limitations or temporary withholding periods (such as the 21-day hold on initial deposits), follow this structured approach when creating a PayPal Business account:
1. Navigate to https://www.paypal.com/ and select ‘Sign Up’. Select ‘Business Account‘.
2. Choose the Standard account option.
3. Use a Gmail address for registration, as it enhances legitimacy. Avoid domains like Yandex, which may raise unnecessary scrutiny.
4. Input the fullz home address, then select a plausible business name and document it securely for future reference.
Optional: If you possess an EIN fullz, utilise the corresponding legal entity name and registered address. This significantly improves account legitimacy.
5. If you are creating a fictitious business entity, select ‘Individual/Sole Proprietorship‘ and input fabricated details that align with your chosen business profile. A website is not mandatory.
For verified EIN use: If operating with a legitimate EIN, ensure the business type (LLC, Corporation, etc.) matches the sourced fullz. Conduct a brief online search to verify if the business maintains an official website. If located, enter the URL in the designated field, this significantly enhances the account’s credibility.

6. If the SSN linked to your fullz is already associated with an existing PayPal account, the registration process will be halted at this stage. While inconvenient, this is an expected security measure; proceed with alternative credentials if necessary.
7. Once the account is successfully created, proceed to configure your payment preferences. Select receive payments via online invoicing.
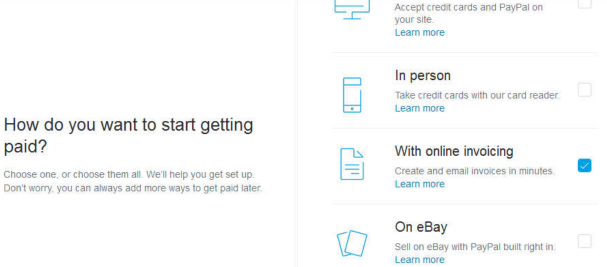
8. Finalizing your PayPal business account setup.
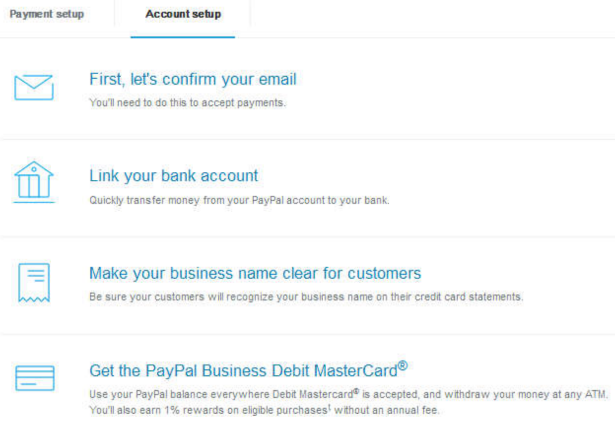
8.1. Begin by confirming your email address via the verification link sent to your registered inbox.
8.2. Proceed to link your bank account; this step is straightforward, and we will cover both the standard process and the verify business name section.
Important Note: If applying for a PayPal business debit card, ensure the shipping address matches your secure mail drop location. For operational security, avoid using personal or associate addresses.
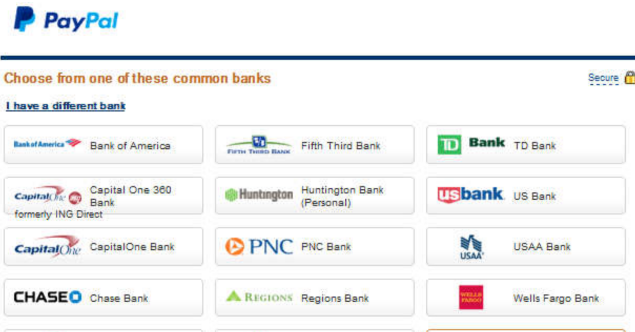
8.3. Bank account linkage. Select your financial institution from the provided options.
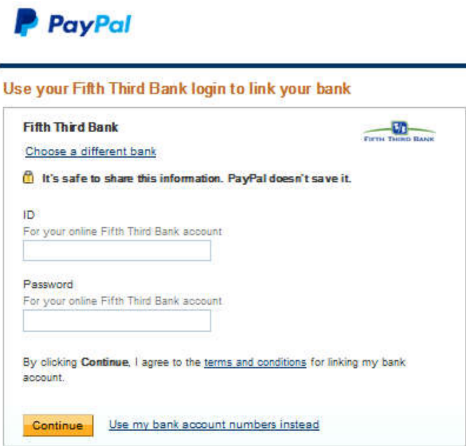
8.4. Enter your online banking credentials to establish an instant connection
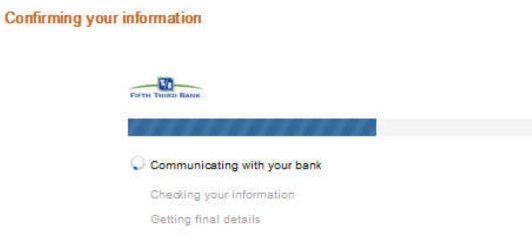
8.5. PayPal processing the verification.
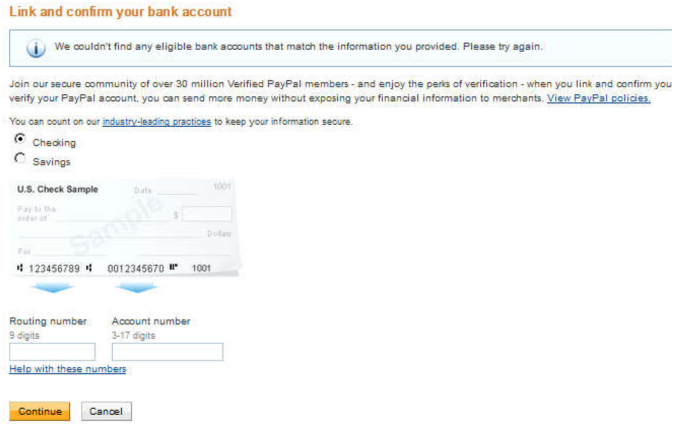
8.6. In some instances, this issue arises with newly created accounts. In such cases, simply input your bank’s routing and account details, then select ‘Continue’ to proceed.
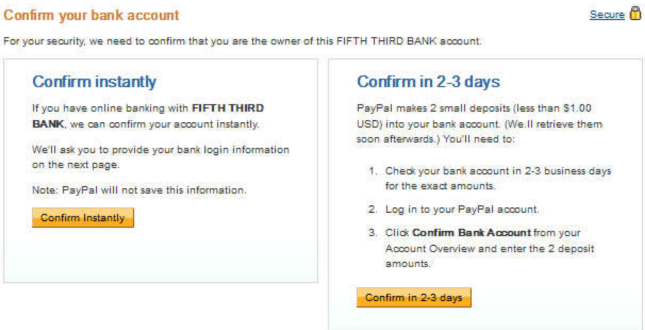
8.7. You may attempt instant verification again; however, if unsuccessful initially, it is unlikely to work upon retrying. Instead, opt for the micro-deposit verification method, which typically completes within two to three business days.
8.8. Once the micro-deposits appear in your account, PayPal will provide instructions on how to confirm them.
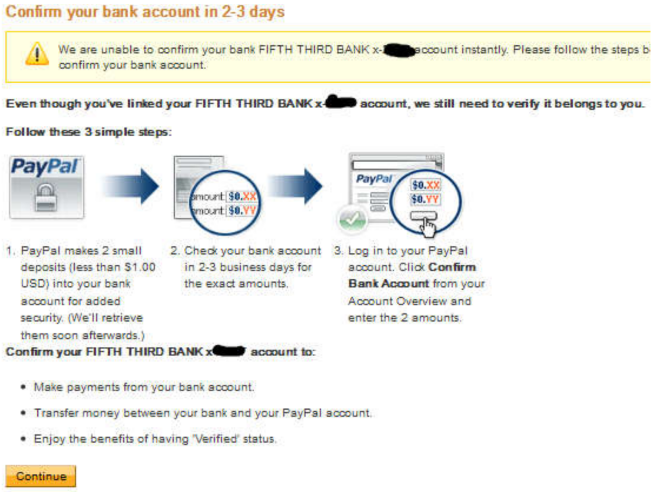
8.9. This section is where you will verify the micro-deposit amounts once they are reflected in your transaction history.

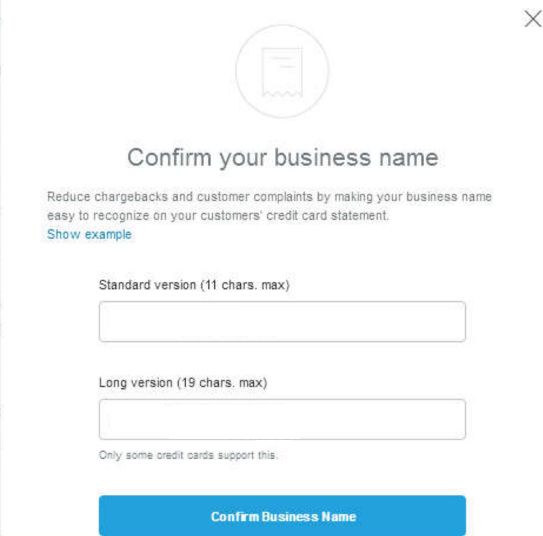
9. This screen allows you to verify your registered business name.
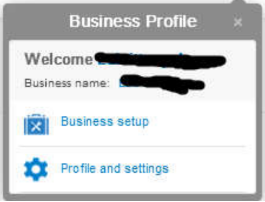
10. Navigate to your primary PayPal dashboard and locate the dropdown menu. From there, select “Profile and settings“, as we need to complete several essential adjustments to ensure your account can receive payments without restrictions or holds.
11. Next, update the sections highlighted in red with your fullz. Begin by providing your fullz SSN, followed by setting up your security questions.
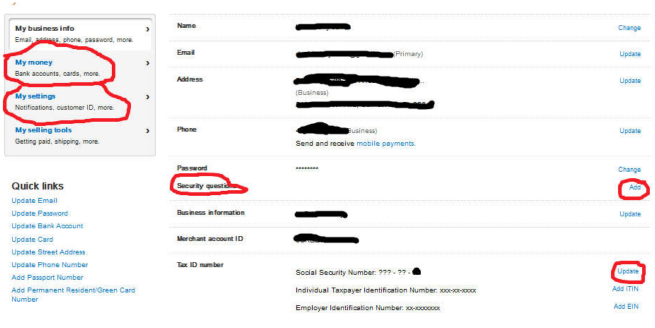
12. Ensure all mandatory fields are completed accurately. For future reference, record these details on your account information sheet to maintain a secure backup of your credentials.
13. Now navigate to “My Money“, where you will find the option to confirm your bank account once the deposits arrive.
At this stage, I recommend adding a card to further verify your account. If you do not possess CC fullz, you may utilise https://cryptopay.me, register an account, deposit a small amount of Bitcoin, and generate a Virtual Credit Card (VCC). Note that cryptopay.me does not permit US-based registrations; selecting Bahamas as your country will not affect your ability to link the card to PayPal.

14. Select “Add Card” and proceed to input the necessary card details.
15. Before proceeding, ensure your account’s time zone aligns with your fullz. Go to “My Settings”, scroll to the bottom, and update the Time Zone field accordingly.
16. To optimise account functionality, the most effective method is to issue an invoice for payment, PayPal favours this approach. If invoice payments are not feasible, ensure funds are sent as Goods and Services rather than Friends and Family.
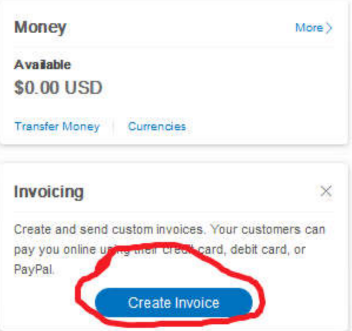
17. This section pertains to the creation of your invoices. Proceed to complete all requisite details as though you were the legitimate proprietor of the fictitious enterprise. It is advisable to issue your first invoice for approximately $50 USD. Once all fields have been accurately populated, forward the invoice to the designated recipient and await payment.

18. Upon receipt of cleared funds into your PayPal account, allow a period of 24 to 48 hours before initiating a transfer to your bank. To do so, navigate to your PayPal Summary page, select ‘Transfer Money‘ beneath your available balance, and input the necessary details. Proceed by selecting ‘Continue’ to finalise the transaction.
Typically, the transfer will require two to three business days to clear into your bank drop.
You now possess a fully operational US-based business PayPal account and have successfully completed your initial deposit.


Really elaborate,i love your content